

Several people have asked me how I did my gradient spun sugar nails, so I decided to write a tutorial about it. I do not take credit for the spun sugar technique. This is just my version of it. You do not need to do a gradient if you do not want to. You may skip to the spun sugar part of this tutorial.
I will be using a false nail tip for this tutorial since I am resting my fingernails at the moment.
Before you start gather up the materials you'll need to do this:
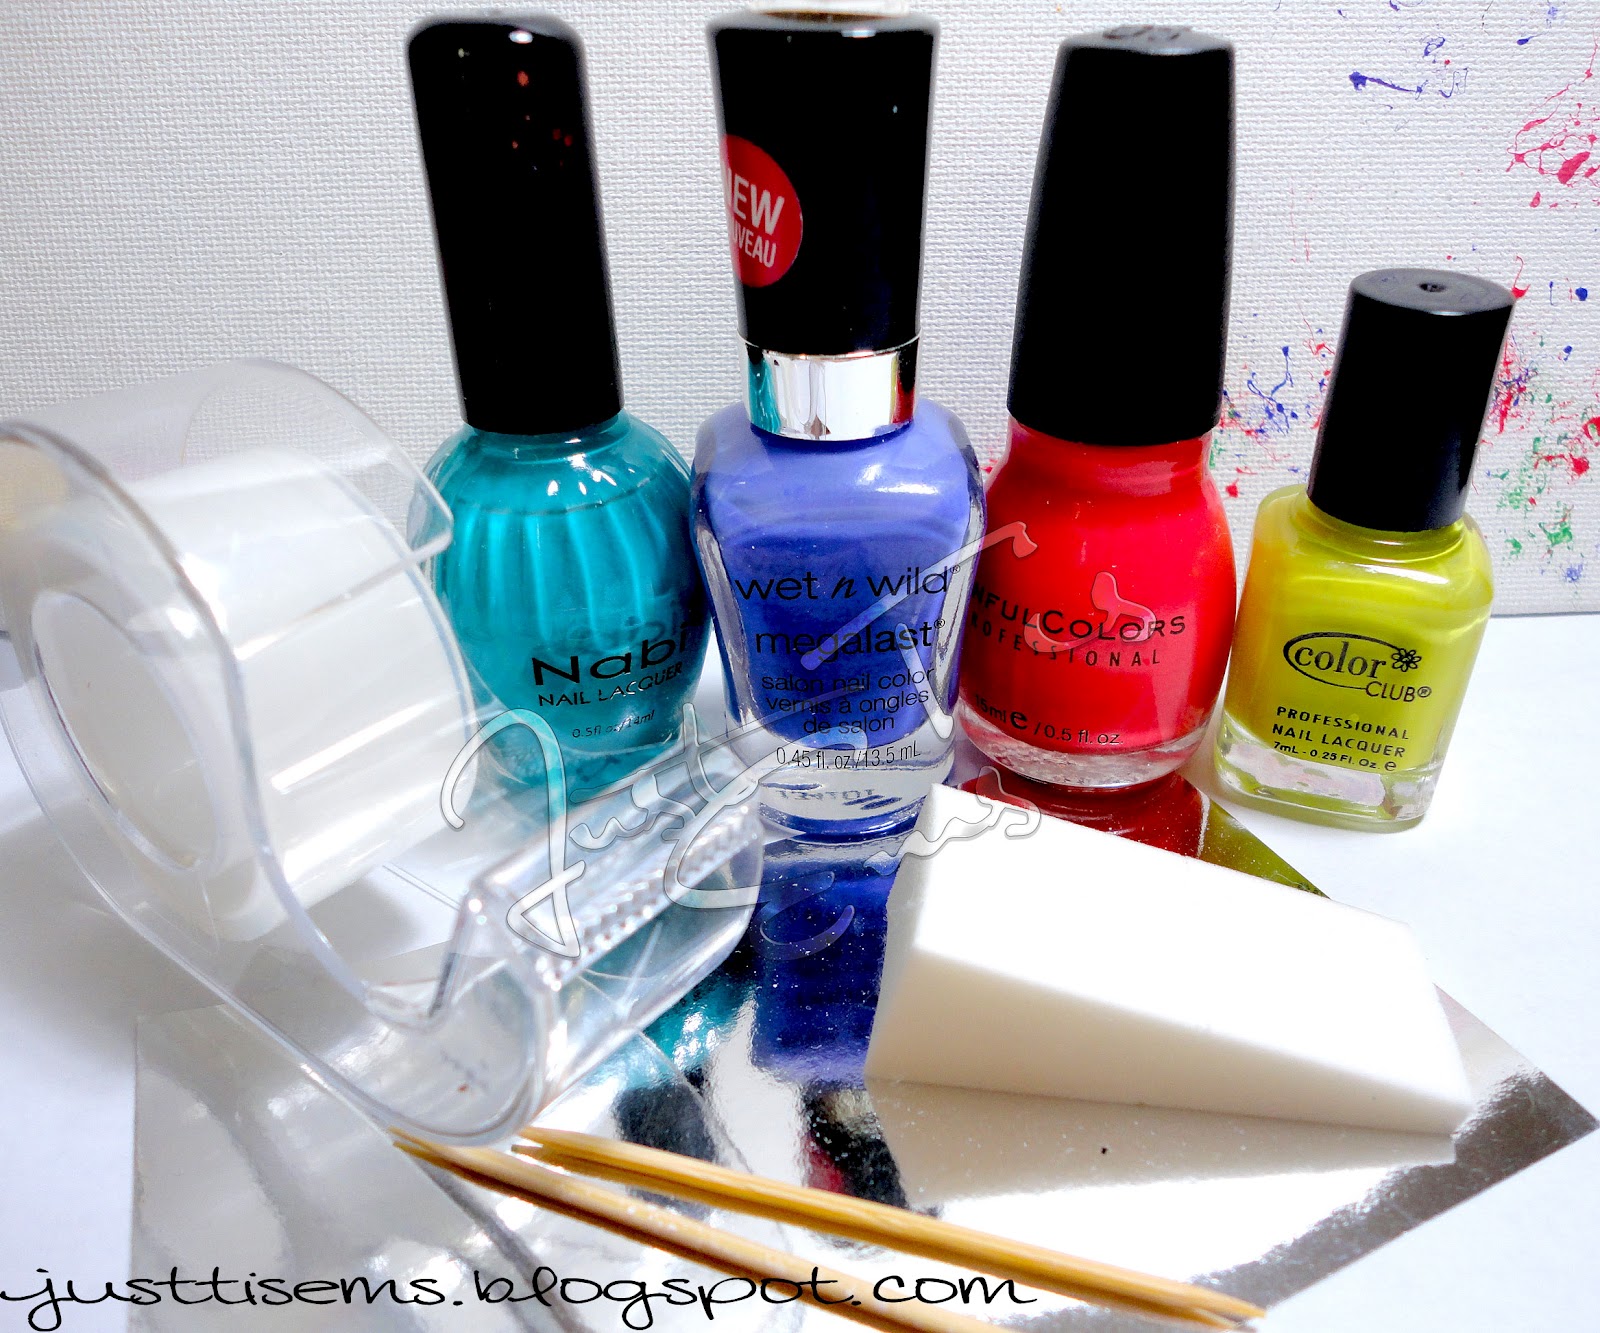
- Nail Polish shades of choice. I used 4 polishes: 2 for gradient and 2 for the spun sugar on each nail.
- Something to dab your nail polish on.
- A toothpick, dotting tool, or item of choice.
- Tape or Vaseline to lessen the mess.
- A sponge (i.e. cosmetic wedge) if you plan on doing the gradient.


Here are the nail polishes that I used from left to right:
- Wet n Wild Megalast Nail Color On a Trip
- Sinful Colors Timbleberry
- Nabi Mazarine
- Color Club Birchbox Custom Shade Tweet Me
You do not need to use the same colors I did. Think of a color combo of your choice. Mess around!
- Apply your favorite base coat polish on your nails and allow it to dry to touch.

- Apply your base color of choice. Apply your first coat and allow it to dry for at least 5 minutes before applying your second coat. I picked Color Club's Tweet Me as my base.
- Allow it to completely dry first before continuing.
At this point you could now tape up your fingers if you like. Normally I would tape one hand first, and work on that one before I move on to the next hand. But do whatever makes you really comfortable.
- Dab the color of your choice for the top part of the nail on your work area. I picked Nabi Mazarine for this part.

- Take a piece of sponge and dab it into the nail polish droplet.

- Dab the sponge as much as you want on the nail. I normally go for the middle at least or almost the middle. Depending how your nail polish is you might want to do a second dab coat, but make sure the first dab coat is dry.

- Take your base color shade and the dabbed nail polish shade and mix them together.

- Dab the mixture into the middle and adjust it to the way you want to.
- Option: You could place a top coat over the gradient before you continue or not.

- Dab your color choice for the spun sugar on to your work area. Allow it to thicken!

The key is to allowing that dab sit for awhile so it could thicken up. If you do not let it sit at all this will not work! As you work the thicker it will. You could spin your tool in it and blow on it to speed up the process.

- As soon as it thickens dip your toothpick into the thick polish. Slowly lift it over your nail and go in a circle motion.
Do not do a forward backwards motion. When I say circle motion, go over your nail and bring the toothpick down and under your finger. Dip again and continue the process. You could do as much of the spun sugar you would like. If you want thicker lines hold your toothpick (or whatever you are using) horizontal. If you want thinner lines, hold it vertical.
- Do the same with the next color if you are doing four polishes.
Here is an example of how the tutorial one came out:

You could finish it like this or add a top coat over it. In my own preference I like the 3D look of the spun sugar nails. If you place a top coat it basically mushes the colors making it look like you just did lines back and forth.
Here is an example of a spun sugar nail with a top coat:

It's totally up to you because it is YOUR NAILS!
So there you have it! If you do your nails based off of this tutorial, let me know and please give me some credit. I would love to see your version of gradient spun sugar or just spun sugar nails in general.
I hope you enjoyed this post, and thank you for stopping into my little blog!
